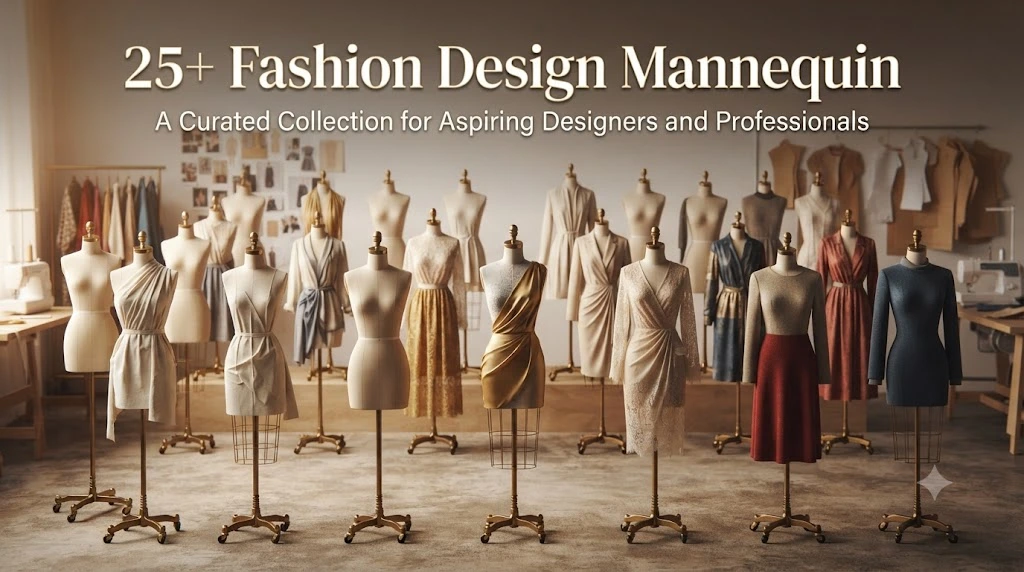
Have you ever looked at a fashion sketch and wondered how designers make every outfit look so balanced, stylish, and realistic? The answer often starts with a simple but powerful tool: the fashion design mannequin.
Whether you’re a beginner learning to draw your first clothing collection or an experienced designer creating professional fashion illustrations, a mannequin acts as the foundation of every great design. It helps you understand body proportions, visualize garment fit, and present your ideas with confidence before a single piece of fabric is cut.
Many aspiring designers make the mistake of focusing only on clothing details. In reality, even the most beautiful dress can look awkward if it’s drawn on incorrect body proportions. A well-constructed fashion mannequin solves this problem by giving every design a strong starting point.
In this guide, you’ll learn everything you need to know—from understanding mannequin proportions and choosing the right type to improving your sketches, avoiding common mistakes, and using mannequins for digital and traditional fashion design. Whether your goal is creating runway collections, building a fashion portfolio, or designing clothes for clients, this guide will help you work smarter and create illustrations that truly stand out.
What Is a Fashion Design Mannequin?
A fashion design mannequin is a drawing template or figure that represents the human body using fashion-specific proportions. Designers use it as a base to sketch clothing ideas before creating patterns or sewing garments.
Unlike retail display mannequins found in clothing stores, a fashion design mannequin is mainly used for illustration and concept development. It provides a consistent framework that makes it easier to experiment with different silhouettes, fabrics, and garment details.
Most fashion illustration mannequins are taller and slimmer than the average human body. These elongated proportions allow designers to showcase clothing in a more elegant and visually appealing way while highlighting movement and style.
A typical fashion mannequin helps you:
- Draw accurate body proportions
- Design balanced outfits
- Experiment with different silhouettes
- Visualize garment construction
- Present professional-looking fashion concepts
Instead of guessing where the waist or knees should be, designers rely on mannequin guidelines to maintain consistency throughout an entire collection.
Expert Tip: Even professional fashion illustrators begin with a mannequin before adding clothing details. Starting with a solid figure saves time and reduces drawing errors later.
Why Every Fashion Designer Uses a Mannequin First
Behind every polished fashion sketch is a carefully constructed figure. Designers rarely jump straight into drawing clothes because garments need a realistic body structure to look believable.
Think of a mannequin as the blueprint of your design. Just as architects start with structural plans before decorating a building, fashion designers establish body proportions before adding fabrics, textures, and accessories.
Using a mannequin offers several important advantages:
- Improves proportion accuracy
- Makes clothing drape naturally
- Keeps multiple sketches consistent
- Speeds up the design process
- Builds confidence for beginners
- Helps communicate ideas to clients and manufacturers
Imagine designing an evening gown. Without proper body proportions, the waist may sit too low, the sleeves may appear uneven, or the skirt may lose its elegant flow. A mannequin prevents these issues before they happen.
Professional designers also use mannequins when developing seasonal collections. Since every illustration starts with the same body proportions, comparing different outfits becomes much easier.
Understanding Fashion Figure Proportions
One of the biggest differences between fashion illustration and realistic drawing is body proportion.
In everyday life, the average adult measures about 7½ to 8 heads tall. Fashion illustrations, however, typically use a 9-head or 10-head figure to create a longer, more graceful appearance.
Here’s a simple comparison:
Figure TypeApproximate HeightAverage Human7½–8 headsFashion Illustration9 headsEditorial Illustration9½–10 headsHigh Fashion Concept ArtUp to 11 heads
These longer proportions aren’t meant to represent real people. Instead, they emphasize clothing, movement, and elegance.
The body is divided into equal sections based on head length, making it easier to position important landmarks like:
- Shoulders
- Bust
- Waist
- Hips
- Knees
- Ankles
As you practice, these measurements become second nature and allow you to sketch much faster.
Styling Insight: Longer legs create the illusion of height, making garments appear more dramatic. That’s one reason luxury fashion houses often prefer elongated fashion figures in their illustrations.
Types of Fashion Design Mannequins
Not every fashion mannequin serves the same purpose. The right choice depends on what you’re designing and how you prefer to work.
Female Fashion Mannequin
This is the most commonly used template in fashion illustration. It features elegant proportions, defined curves, and longer legs that showcase dresses, skirts, and tailored garments beautifully.
Best for:
- Evening gowns
- Casual wear
- Haute couture
- Bridal collections
- Women’s ready-to-wear
Male Fashion Mannequin
Male mannequins typically have broader shoulders, a straighter waist, and a stronger body structure.
They’re ideal for designing:
- Suits
- Jackets
- Streetwear
- Sportswear
- Men’s formal fashion
Children’s Fashion Mannequin
Children’s clothing requires entirely different body proportions. A child mannequin reflects shorter limbs, a larger head-to-body ratio, and softer body contours.
Designers use these templates for:
- Baby clothing
- Kids’ fashion
- School uniforms
- Children’s activewear
Plus-Size Fashion Mannequin
Fashion is becoming more inclusive, and plus-size illustration templates have become increasingly important.
These mannequins help designers:
- Create realistic garment fits
- Develop inclusive collections
- Improve size diversity
- Visualize body-positive fashion
Pose Mannequins
Instead of standing straight, pose mannequins capture movement.
Common poses include:
- Walking
- Running
- Sitting
- Dancing
- Editorial poses
- Runway walking
Dynamic poses bring life into fashion illustrations and better demonstrate how fabrics flow while moving.
Croquis Templates
A croquis is a lightly sketched mannequin used repeatedly for fashion drawing.
Designers often print dozens of croquis pages before beginning a new collection because they save considerable time.
Croquis templates are available in:
- Front view
- Side view
- Back view
- Three-quarter view
- Action poses
Many professionals build a personal library of croquis that matches their preferred illustration style.
Fashion Design Mannequin vs. Dress Form: What’s the Difference?
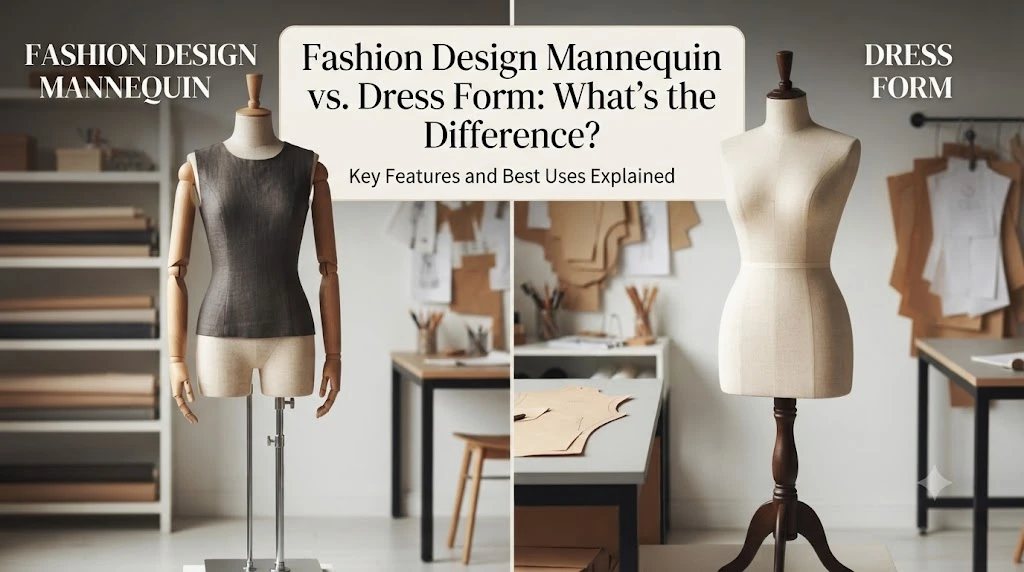
Many beginners confuse these two tools, but they serve very different purposes.
A fashion design mannequin is used for drawing and planning ideas on paper or digitally. It helps designers create fashion illustrations before production begins.
A dress form, on the other hand, is a three-dimensional sewing tool used during garment construction. Designers pin fabric directly onto the dress form to test fit, shape, and drape.
Here’s a quick comparison:
Fashion Design MannequinDress FormUsed for sketchingUsed for sewingUsually 2DThree-dimensionalFocuses on illustrationFocuses on garment fittingHelps visualize ideasHelps refine constructionUsed before productionUsed during production
Both tools play important roles in fashion design, but they are used at different stages of the creative process.
Expert Advice: If you’re just starting out, master fashion mannequins before investing in an expensive dress form. Strong illustration skills make the garment construction process much easier later.
How to Draw a Fashion Design Mannequin Step by Step
Learning to draw a fashion design mannequin may seem difficult at first, but breaking the process into simple steps makes it much easier. You don’t need to be a professional artist to create clean, balanced fashion figures. What matters most is understanding proportions and practicing regularly.
Step 1: Draw a Vertical Guideline
Start with a straight vertical line down the center of your page. This line acts as the body’s balance point and keeps your figure aligned.
A centered guideline also makes it easier to compare the left and right sides of the body as you draw.
Step 2: Divide the Figure into Head Sections
Fashion illustrators commonly use a 9-head proportion. Draw nine equal sections from the top of the head to the feet.
These sections help you place important body landmarks accurately.
A basic guide looks like this:
- Head
- Chest
- Bust
- Waist
- Hips
- Upper thigh
- Knee
- Calf
- Feet
As you practice, you’ll rely less on measuring and more on instinct.
Step 3: Sketch the Body Shape
Use light lines to create simple geometric shapes.
For example:
- Circle or oval for the head
- Straight lines for the spine
- Ovals for the rib cage and pelvis
- Cylinders for arms and legs
- Small circles for joints
Don’t worry about details at this stage. You’re simply building the mannequin’s structure.
Step 4: Refine the Figure
Once the basic framework looks balanced, smooth out the body shape.
Pay attention to:
- Shoulder width
- Waist placement
- Hip curve
- Arm length
- Leg proportions
Keep your pencil strokes light. It’s easier to adjust mistakes before adding clothing.
Step 5: Add Clothing
Now comes the fun part.
Sketch garments directly over the mannequin. Because the body proportions are already correct, you’ll find it much easier to design dresses, jackets, skirts, trousers, or outerwear.
Finally, erase the construction lines or reduce their opacity if you’re working digitally.
Expert Tip: Spend at least 15 minutes each day drawing mannequins without clothing. Strong figure skills will improve every fashion illustration you create.
Choosing the Right Pose for Your Fashion Illustration
A standing mannequin works well for basic clothing designs, but different poses tell different stories.
The pose you choose can dramatically change how your design feels.
For example, a fitted business suit often looks best on a confident standing figure, while a flowing evening gown appears more elegant when the mannequin is shown walking.
Here are some popular fashion illustration poses:
- Straight standing
- Contrapposto (weight shifted to one leg)
- Runway walk
- Sitting pose
- Dynamic action pose
- Twisting pose
- Editorial fashion pose
Each pose highlights clothing in a unique way.
A flowing skirt becomes more interesting when the figure appears to be walking. Likewise, oversized streetwear often looks better on relaxed, casual poses.
Before selecting a pose, ask yourself:
- Does this outfit need movement?
- Will the pose highlight important design details?
- Is comfort or elegance the main focus?
Keeping the pose consistent across a collection also gives your portfolio a polished and professional appearance.
Traditional vs. Digital Fashion Design Mannequins
Today’s designers often combine hand drawing with digital illustration. Both methods have unique strengths, and many professionals use each depending on the project.
Traditional Mannequins
Paper sketches remain a favorite because they’re fast, flexible, and encourage creativity.
Benefits include:
- Improves drawing skills
- Easy to experiment with ideas
- No software required
- Great for brainstorming
- Develops hand-eye coordination
Many designers still begin every collection with pencil sketches before moving to digital software.
Digital Mannequins
Digital fashion templates save time and offer excellent precision.
They allow you to:
- Duplicate poses instantly
- Edit proportions quickly
- Change colors easily
- Test multiple outfit variations
- Create presentation-ready illustrations
Digital drawing also simplifies revisions. Instead of redrawing an entire figure, you can adjust individual layers.
Which One Should You Choose?
If you’re just starting, learn traditional sketching first. Drawing by hand strengthens your understanding of body proportions and garment construction.
Once you’re comfortable with the basics, digital tools can help you work faster without replacing your creative skills.
Professional Insight: The strongest fashion designers understand both traditional and digital illustration techniques. Knowing when to use each method makes your workflow more efficient.
Best Materials and Tools for Fashion Mannequin Sketching
You don’t need expensive supplies to create beautiful fashion illustrations. A few reliable tools can make learning more enjoyable and help your sketches look cleaner.
Essential Drawing Supplies
For beginners, consider keeping these items on hand:
- HB pencil for light construction lines
- 2B pencil for darker outlines
- Kneaded eraser
- Fine liner pens
- Sketchbook with smooth paper
- Ruler
- Colored pencils or markers
These simple tools are enough to practice mannequin drawing and fashion illustration every day.
Optional Professional Supplies
As your skills improve, you may want to explore:
- Alcohol markers
- Watercolor sets
- Brush pens
- White gel pens for highlights
- Blending tools
- Marker paper
These materials add depth, texture, and a polished finish to presentation sketches.
Digital Equipment
If you prefer digital illustration, you’ll typically need:
- A drawing tablet
- Stylus pen
- Illustration software
- High-resolution display
Many designers enjoy switching between paper sketches and digital rendering depending on the project.
Expert Advice: Buy quality paper before buying expensive markers. Good paper prevents bleeding and makes every drawing tool perform better.
Common Mistakes Beginners Make with Fashion Mannequins
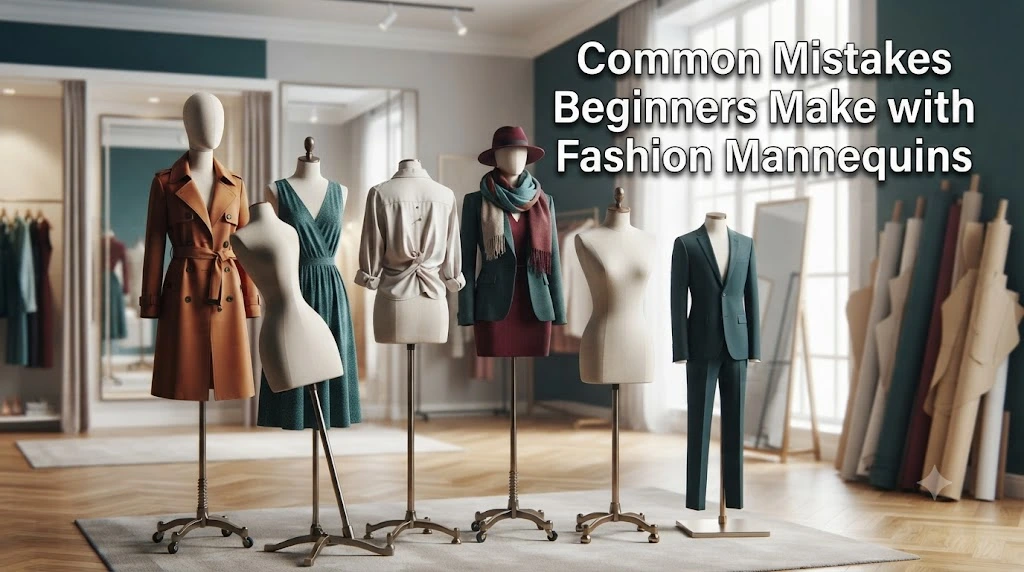
Every designer makes mistakes while learning. The key is recognizing them early so they don’t become habits.
Here are some of the most common issues.
Drawing Realistic Instead of Fashion Proportions
Many beginners automatically draw average human proportions.
Fashion illustration intentionally exaggerates height and leg length to emphasize clothing.
Ignoring Balance
Even a simple standing figure should feel stable.
If the body’s weight isn’t distributed naturally, the illustration may look stiff or awkward.
Overworking Construction Lines
Heavy guidelines can make sketches messy.
Use light pencil strokes so they’re easy to erase later.
Forgetting Movement
Fashion is about motion as much as clothing.
A perfectly straight mannequin often lacks energy. Adding a slight curve through the spine or shifting the hips can make a huge difference.
Clothing Doesn’t Follow the Body
Fabric wraps around the figure.
Beginners sometimes draw garments floating beside the body instead of resting naturally over it.
Rushing Details
Adding buttons, pockets, or patterns before fixing body proportions usually creates more work later.
Always build from large shapes to small details.
Quick Checklist Before Finishing a Sketch
- Are the shoulders level?
- Does the waist align correctly?
- Are both legs the same length?
- Does the pose feel balanced?
- Does the clothing follow the body’s shape?
- Are garment seams placed logically?
Checking these details takes only a minute and greatly improves the final result.
How Fashion Mannequins Improve Clothing Design
A mannequin is more than a drawing guide—it helps designers solve design problems before they reach the sewing stage.
When you sketch clothing on a properly proportioned figure, you can quickly evaluate:
- Overall silhouette
- Garment balance
- Fabric flow
- Pocket placement
- Sleeve length
- Hemline position
- Layering combinations
Imagine designing three different jackets for the same collection. Using the same mannequin allows you to compare each design fairly because body proportions remain consistent.
Fashion schools often encourage students to sketch dozens of outfit variations before selecting one for production. This process saves time, reduces waste, and inspires more creative solutions.
Another advantage is communication. Clients, manufacturers, and team members can understand your ideas much more easily when they’re presented on a clean, professional mannequin.
Styling Insight: Some of the most memorable fashion collections begin as simple mannequin sketches. The illustration doesn’t need to be perfect—it needs to communicate the design clearly and confidently.
Fashion Design Mannequins for Different Clothing Styles
A single mannequin doesn’t work equally well for every clothing category. The pose, body shape, and proportions should support the style you’re designing. Choosing the right mannequin helps your sketches feel more natural and makes it easier to show how a garment is meant to look.
Women’s Fashion
Women’s fashion illustrations often use elongated figures with graceful poses. A slight bend in the knee or a relaxed shoulder can make dresses and skirts appear more elegant.
These mannequins are ideal for:
- Cocktail dresses
- Evening gowns
- Office wear
- Casual outfits
- Resort collections
- Bridal fashion
Men’s Fashion
Men’s fashion requires a stronger body structure. Broader shoulders, a straighter torso, and confident poses help showcase tailoring and structured garments.
They work well for:
- Business suits
- Jackets
- Streetwear
- Sportswear
- Formal clothing
- Outerwear
Children’s Clothing
Children have very different body proportions than adults. Their heads appear larger in relation to their bodies, and their limbs are shorter.
When designing children’s clothing, use softer poses that reflect movement and comfort rather than dramatic fashion poses.
Activewear
Sportswear should look energetic. Dynamic mannequins with running, stretching, or jumping poses help demonstrate how garments move with the body.
These poses are especially useful when designing:
- Gym clothing
- Yoga wear
- Running apparel
- Dance costumes
- Performance wear
Couture and Editorial Fashion
High-fashion illustrations often exaggerate body proportions even further. Long limbs, dramatic poses, and expressive body language allow designers to emphasize creativity rather than realism.
This style is commonly seen in fashion magazines and designer portfolios.
Expert Tip: Match the mannequin’s personality to the clothing. A structured blazer and a flowing summer dress rarely look their best on the same pose.
How to Add Clothing to a Fashion Design Mannequin
Once you’ve created a balanced mannequin, it’s time to transform it into a fashion illustration. This is where your ideas begin to take shape.
Instead of thinking about clothing as flat objects, imagine how fabric wraps around the body. Every garment follows the figure’s curves, bends, and movement.
Start with the Main Silhouette
Before drawing small details, outline the overall shape of the outfit.
Ask yourself:
- Is the design fitted or oversized?
- Does it create a straight, A-line, or hourglass silhouette?
- Where does the garment end?
Getting the silhouette right first makes the rest of the drawing much easier.
Build the Garment Layer by Layer
Draw the largest pieces first, such as:
- Dresses
- Jackets
- Shirts
- Pants
- Skirts
- Coats
After that, add secondary details like collars, cuffs, belts, and pockets.
Show Fabric Movement
Different fabrics behave differently.
For example:
- Silk creates soft, flowing folds.
- Denim holds its shape.
- Leather forms stronger creases.
- Linen wrinkles naturally.
- Knit fabrics stretch around the body.
Observing real clothing can improve your illustrations more than memorizing drawing techniques.
Add Finishing Details
Complete the design with:
- Stitching
- Buttons
- Zippers
- Prints
- Embroidery
- Accessories
These details should support the design rather than overpower it.
Styling Advice: Zoom out occasionally while drawing. If the overall outfit looks balanced from a distance, the smaller details will usually work well too.
Tips for Creating Professional Fashion Illustrations
Beautiful fashion illustrations aren’t just about artistic talent. They also communicate ideas clearly and professionally.
Here are practical habits used by experienced designers.
Keep Your Lines Confident
Avoid sketching with many short, uncertain strokes.
Instead, use smooth, continuous lines whenever possible. Confident lines make your illustrations appear cleaner and more polished.
Study Real Clothing
Spend time observing how garments fit on different body types.
Visit clothing stores, browse fashion magazines, or watch runway shows to understand:
- Fabric drape
- Layering
- Construction
- Movement
Real-life observation improves your design skills faster than copying illustrations alone.
Practice Gesture Drawing
Quick gesture sketches help you capture movement and posture.
Even five-minute practice sessions can make your mannequins look more natural.
Learn Basic Anatomy
Fashion figures are stylized, but they still rely on believable body structure.
Understanding joints, muscles, and body balance helps you create more convincing poses.
Develop Your Own Style
As your confidence grows, you’ll naturally begin developing a signature illustration style.
Some designers prefer clean minimal lines.
Others enjoy expressive watercolor rendering or bold marker illustrations.
Neither approach is right or wrong. Consistency matters more than imitation.
Professional Insight: Fashion brands often recognize designers by their illustration style before reading their names.
Building a Fashion Portfolio with Mannequin Sketches
A strong portfolio shows more than finished artwork. It demonstrates your design thinking and creative process.
Fashion mannequin sketches play an important role because they reveal how ideas evolve from rough concepts into completed garments.
Include Different Categories
A balanced portfolio might feature:
- Casual wear
- Evening wear
- Business attire
- Sportswear
- Streetwear
- Outerwear
- Accessories
Showing variety proves you can design for different markets.
Show the Design Process
Instead of displaying only polished illustrations, include:
- Initial mannequin sketches
- Silhouette studies
- Fabric ideas
- Color variations
- Final presentation drawings
This gives employers and clients insight into how you solve design challenges.
Maintain Consistency
Use similar illustration quality throughout your portfolio.
Inconsistent drawing styles can distract from your work and make the collection feel unfinished.
Focus on Quality
Ten excellent sketches make a stronger impression than fifty average ones.
Choose your best work rather than including everything you’ve created.
Expert Tip: Update your portfolio regularly. As your skills improve, replace older sketches with stronger examples.
Fashion Design Mannequin Practice Exercises for Beginners
Improvement comes through consistent practice, not perfection. Short, focused exercises help you build confidence while avoiding overwhelm.
Exercise 1: Draw One Mannequin Every Day
Create a fresh mannequin daily using the same proportions.
After a few weeks, you’ll notice your lines becoming smoother and your figures more balanced.
Exercise 2: Change the Pose
Take one basic mannequin and redraw it in different positions.
Try:
- Walking
- Sitting
- Turning
- Crossing legs
- Holding a handbag
- Looking over the shoulder
This exercise teaches flexibility and movement.
Exercise 3: Design Multiple Outfits
Use the same mannequin to create several clothing ideas.
For example:
- Casual look
- Office outfit
- Party dress
- Winter clothing
- Summer collection
Because the figure stays the same, you can compare designs more easily.
Exercise 4: Copy Real Clothing
Choose a photo from a fashion magazine.
Instead of tracing it, draw the mannequin first, then recreate the outfit over your figure.
This strengthens both observation and illustration skills.
Exercise 5: Timed Sketches
Set a timer for five or ten minutes.
Quick sketches improve decision-making and prevent overthinking every line.
Practice Reminder: Small daily improvements add up. Drawing for 20 minutes every day is often more effective than practicing for several hours once a week.
Future Trends in Fashion Design Mannequins
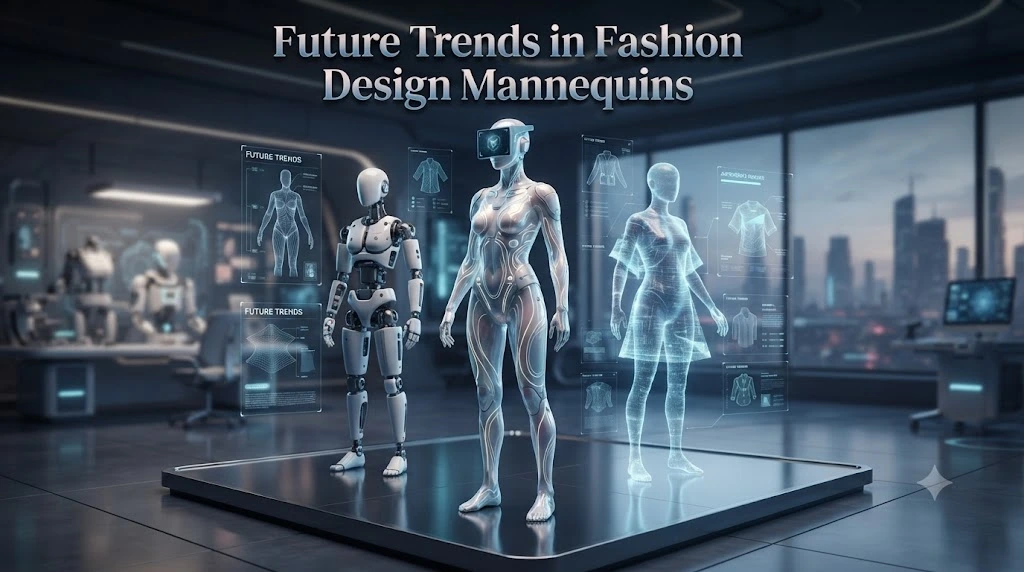
Fashion illustration continues to evolve alongside technology, sustainability, and changing consumer expectations.
Today’s designers have more tools than ever before, but the purpose of the mannequin remains the same: turning creative ideas into clear visual concepts.
Greater Body Diversity
The fashion industry increasingly represents different body shapes, sizes, ages, and abilities.
Modern mannequin templates now include:
- Plus-size figures
- Petite proportions
- Tall body types
- Adaptive fashion models
- Mature figures
This shift helps designers create clothing for a wider audience instead of a single idealized body type.
Digital Design Workflows
Many designers now combine hand sketches with digital editing.
A typical workflow may include:
- Pencil mannequin sketch
- Digital line art
- Color rendering
- Fabric textures
- Presentation boards
This hybrid approach offers both creativity and efficiency.
3D Fashion Visualization
Advanced software allows designers to view garments on virtual mannequins before producing physical samples.
This can reduce material waste, improve communication with manufacturers, and speed up product development.
Sustainable Design
As sustainability becomes more important, designers increasingly rely on mannequin sketches to test ideas before creating physical prototypes.
Developing stronger concepts on paper or digitally helps reduce unnecessary fabric use and sample production.
Looking Ahead: No matter how advanced design technology becomes, understanding how to build and use a fashion design mannequin will remain one of the most valuable skills for aspiring designers.
Conclusion
A fashion design mannequin is much more than a simple figure on paper. It is the foundation of every successful fashion illustration, helping designers transform creative ideas into clear, balanced, and professional designs. Whether you’re sketching your first T-shirt concept or planning an entire runway collection, starting with a well-proportioned mannequin gives your work structure and consistency.
As your skills improve, you’ll discover that a mannequin is not there to limit your creativity—it actually gives you the freedom to explore it. With a solid understanding of body proportions, movement, and garment placement, you can focus on experimenting with silhouettes, fabrics, colors, and styling instead of correcting basic drawing mistakes.
Remember that every experienced fashion designer started as a beginner. The difference is consistent practice. Draw regularly, study real clothing, observe how fabric behaves, and don’t be afraid to redraw your figures until they feel natural. Every sketch teaches you something new.
If you’re serious about building a career in fashion, make mannequin drawing part of your daily routine. Over time, your illustrations will become faster, cleaner, and more expressive. Those improvements will show in your portfolio, your confidence, and the quality of your designs.
Fashion trends will continue to evolve, and design tools will become more advanced. However, the ability to create a strong fashion figure remains a timeless skill. Master the mannequin, and you’ll have a reliable foundation for every collection you design.
Frequently Asked Questions
1. What is a fashion design mannequin used for?
A fashion design mannequin is a drawing template that helps designers create accurate fashion illustrations. It provides correct body proportions, making it easier to sketch clothing, test design ideas, and present collections before garments are produced.
2. What is the difference between a fashion mannequin and a dress form?
A fashion mannequin is mainly used for drawing and planning clothing designs, while a dress form is a three-dimensional tool used during garment construction. Designers drape fabric and fit garments directly on a dress form, whereas a mannequin serves as the foundation for fashion sketches.
3. Why are fashion illustration mannequins taller than real people?
Fashion illustrations usually use 9-head or 10-head proportions instead of realistic body measurements. These elongated proportions create a more elegant appearance and help emphasize clothing details, movement, and overall style.
4. Can beginners learn to draw fashion mannequins?
Yes. Beginners can learn by practicing basic body proportions, drawing simple construction lines, and sketching regularly. Starting with easy templates or croquis can also make the learning process faster and less intimidating.
5. Are digital fashion mannequins better than hand-drawn ones?
Both have advantages. Hand drawing improves observation, creativity, and illustration skills, while digital mannequins save time and make editing easier. Many professional designers combine both methods in their workflow.
6. How often should I practice fashion mannequin drawing?
Daily practice is the best way to improve. Even spending 15 to 30 minutes drawing mannequins, experimenting with poses, and sketching different outfits can lead to noticeable progress over time.
7. What are the most common mistakes when drawing a fashion design mannequin?
Some of the most common mistakes include using incorrect body proportions, drawing stiff poses, ignoring body balance, adding clothing before completing the figure, and forgetting how different fabrics drape over the body. Correcting these habits early helps create more professional and realistic fashion illustrations.