There are desserts that impress people, and then there are desserts that make people pause after the first bite and say, “That tastes like something my grandmother used to make.” A good old-fashioned chocolate pie belongs firmly in the second group. It is simple, rich, creamy, and deeply comforting, with a flaky crust holding a smooth chocolate filling that tastes far better than its humble ingredient list suggests.
This is the kind of pie that feels right after Sunday dinner, at a holiday table, or whenever you want a homemade dessert without a complicated project. The filling uses everyday pantry staples—cocoa powder, sugar, milk, eggs, butter, and vanilla—but a few careful techniques make the difference between silky chocolate custard and a filling that turns lumpy or refuses to set.
The recipe below keeps that classic Southern-style chocolate pie spirit while explaining the little details that older family recipes often leave out. You will learn how to make the filling, choose the right crust, avoid common mistakes, chill it properly, and get that beautiful finish that makes everyone want the first slice.
What Makes an Old Fashioned Chocolate Pie Special
Old-fashioned chocolate pie is essentially a homemade chocolate custard pie. The filling cooks on the stovetop until it thickens, then goes into a baked pie crust to cool and set.
What makes it different from a chocolate cream pie is often the style of the filling and topping. Traditional family recipes vary widely. Some use cocoa powder, some combine cocoa with chocolate, and some finish the pie with meringue instead of whipped cream.
This recipe leans toward the classic cocoa-based version. It has a strong chocolate flavor without becoming overly sweet, and the butter and egg yolks give the filling a smooth, rich texture.
The beauty is in its simplicity. You do not need expensive chocolate bars or specialty ingredients. You need good cocoa, careful heat control, and patience while the custard thickens.
Ingredients for Homemade Chocolate Pie
The ingredient list is short, but each ingredient has a job.
For the crust
- 1 9-inch baked pie crust
- Homemade or refrigerated pie dough both work well
A traditional pastry crust gives the best contrast because its crisp, buttery texture balances the soft filling.
For the chocolate filling
- 1 1/2 cups granulated sugar
- 1/3 cup unsweetened cocoa powder
- 1/4 cup all-purpose flour
- 1/4 teaspoon salt
- 3 cups whole milk
- 4 large egg yolks
- 3 tablespoons unsalted butter
- 2 teaspoons vanilla extract
Use unsweetened cocoa powder, not hot cocoa mix. Hot cocoa powder contains sugar and other ingredients that can throw off the texture and sweetness.
Whole milk creates a richer filling, although you can use 2% milk if necessary. The finished pie will simply be a little less creamy.
For the best flavor, use fresh vanilla and good-quality cocoa. Since chocolate is the main flavor, a poor-quality cocoa powder will show.
How to Make the Classic Chocolate Pie Filling
Before you begin, have your baked pie crust ready. The filling needs to go into a prepared crust while it is still warm.
In a medium saucepan, whisk together the sugar, cocoa powder, flour, and salt. Mixing the dry ingredients first helps distribute the cocoa and flour evenly before you introduce the liquid.
In a separate bowl, whisk the egg yolks with the milk until smooth.
Slowly pour the milk mixture into the dry ingredients while whisking constantly. Keep whisking until you have a smooth, chocolate-colored mixture with no obvious lumps.
Place the saucepan over medium heat.
Now comes the part that rewards patience. Stir constantly with a whisk or heat-safe spatula as the mixture warms. Do not walk away from the stove because milk-based custard can scorch surprisingly quickly.
After several minutes, the mixture will begin to thicken. Once it reaches a gentle boil, continue cooking for about one minute while stirring constantly.
Remove the saucepan from the heat. Stir in the butter and vanilla until the butter melts completely and the filling looks glossy.
Immediately pour the hot chocolate filling into the baked pie crust.
Place plastic wrap directly against the surface if you want to prevent a skin from forming. Let the pie cool, then refrigerate it until thoroughly chilled and set.
For the cleanest slices, give it several hours in the refrigerator before serving.
How to Get a Smooth, Silky Chocolate Custard
The texture of chocolate pie depends heavily on how you treat the custard.
First, whisk the dry ingredients thoroughly before adding milk. Cocoa powder and flour can form stubborn pockets when they hit liquid, so taking this small step prevents many lumps.
Second, use moderate heat. Turning the burner to high will not make the pie finish faster in a useful way. It increases the chance of scorching the milk or scrambling the egg yolks.
Third, keep stirring. A whisk works particularly well because it moves through the corners of the saucepan and breaks up small clumps.
If your filling develops a few lumps despite your best efforts, pour it through a fine-mesh strainer before putting it into the crust. That simple rescue technique can turn an imperfect custard into a beautifully smooth pie.
The filling should coat the back of a spoon before you remove it from the stove. It will become firmer as it cools.
Do not judge the final texture while the custard is still hot. Hot custard always looks looser than chilled pie filling.
The Best Pie Crust for Chocolate Pie
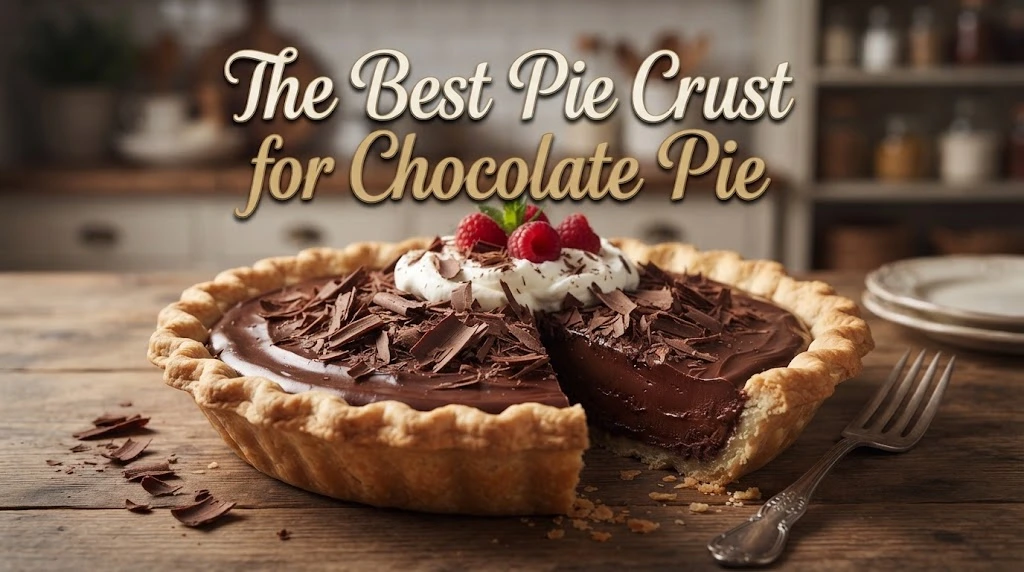
A flaky pastry crust is the classic choice because it provides a crisp contrast to the creamy filling.
You can make a homemade crust with flour, butter, salt, and cold water. The most important technique is keeping the butter cold while you work the dough.
If you prefer convenience, a refrigerated or frozen pie crust works perfectly well. There is no prize for making every component from scratch if you are already short on time.
The crust should be fully baked before the chocolate filling goes inside. This is important because the filling does not need enough oven time to cook a raw pastry shell properly.
For a crisp crust, cool the baked shell completely before adding the hot custard. If the crust is still warm and the filling is extremely hot, the pastry can soften more quickly.
A light brushing of beaten egg before baking can also help create a barrier against moisture.
Should Chocolate Pie Use Cocoa Powder or Chocolate?
Both approaches work, but they produce slightly different results.
Cocoa powder gives the pie a familiar old-fashioned chocolate flavor. It also keeps the ingredient list inexpensive and straightforward.
Melted chocolate creates a deeper, more luxurious taste and a denser texture. Many modern chocolate cream pies use semisweet or bittersweet chocolate for that reason.
For a traditional family-style dessert, I prefer unsweetened cocoa powder as the main chocolate ingredient. It tastes nostalgic and lets you control the sweetness yourself.
You can add a small amount of chopped semisweet chocolate to the hot filling if you want a richer version. Stir it in after removing the saucepan from the heat and make sure it melts completely.
If you use additional chocolate, remember that it can change both sweetness and thickness. Start with a modest amount rather than turning the recipe into a completely different dessert.
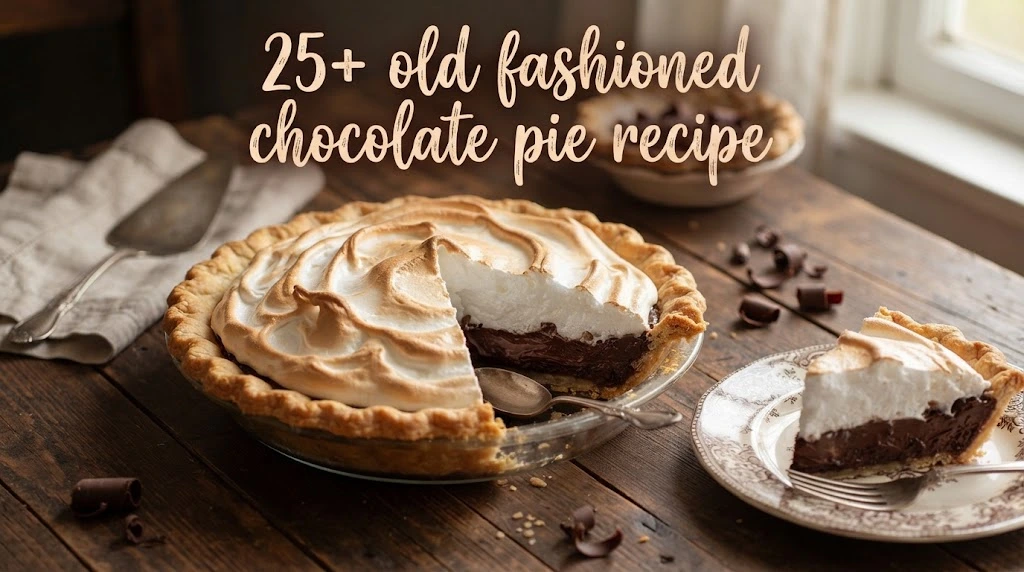
How to Make a Chocolate Pie With Meringue
A fluffy meringue topping is one of the most recognizable finishes for old-fashioned chocolate pie.
To make a simple meringue, beat the reserved egg whites until they become foamy. Gradually add sugar while beating until the whites become glossy and form firm peaks.
Spread the meringue over the hot chocolate filling, making sure it reaches all the way to the edges of the crust. This helps anchor the topping and reduces the chance that it will shrink away from the crust.
Create gentle peaks with the back of a spoon or spatula.
Bake the pie briefly in a moderate oven until the meringue turns lightly golden. Watch it closely because meringue can go from pale to overly brown quickly.
For the best texture, cool the pie gradually and then refrigerate it.
A properly made meringue should be light and tender inside with a delicate golden surface.
Why Does Meringue Shrink or Weep?
A beautiful meringue can fail for several reasons.
One common problem is spreading the meringue onto a cold filling. The warm filling helps the topping adhere and cook more evenly.
Another issue is underbeating the egg whites. The foam needs enough structure to hold its shape.
Overbeating can also cause trouble. Egg whites that become dry and clumpy are harder to incorporate with sugar and may produce a less stable topping.
Use a clean bowl with no trace of grease. Even a little fat can interfere with the egg whites forming a strong foam.
When adding sugar, do it gradually rather than dumping it in all at once.
Most importantly, spread the meringue all the way to the crust. Leaving gaps can allow the topping to pull inward as it cools.
If you live in a humid climate, meringue may become sticky more quickly. That is not necessarily a failure; humidity naturally affects its texture.
How to Keep Homemade Chocolate Pie From Being Runny
A runny pie usually means the custard did not cook long enough, the thickening ingredients were not measured correctly, or the pie did not have enough time to chill.
The filling needs to reach the right temperature for the flour and egg yolks to thicken it properly.
Look for a gentle bubbling simmer rather than a violent boil. Once it reaches that stage, keep stirring and cook for approximately one minute.
Accurate measuring matters too. A little too much milk can noticeably loosen a custard filling.
Do not slice the pie while it is still warm. The filling needs time to cool completely and firm up.
For the best results, refrigerate the finished pie for at least four hours. Overnight chilling usually gives an even cleaner slice.
If you discover that the filling is still loose after chilling, do not try to fix the finished pie by cooking it again in the crust. The better solution is to treat the filling as a failed custard and adjust the method next time.
Common Mistakes When Making Chocolate Pie
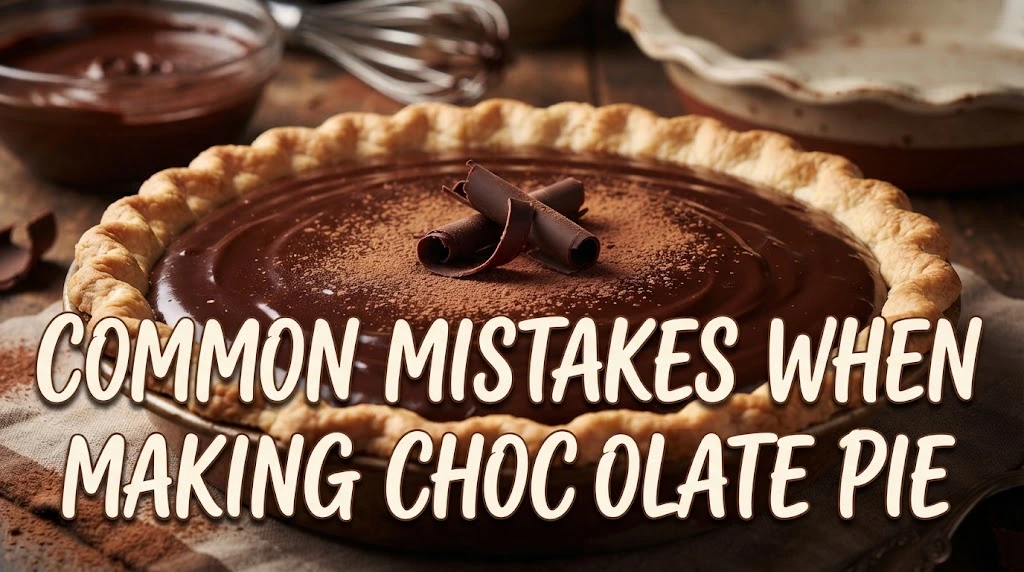
Even experienced home cooks occasionally run into trouble with custard pies.
Using sweetened cocoa: This changes the sugar balance and can make the pie excessively sweet.
Cooking over high heat: Fast cooking can scorch milk and create unpleasant texture.
Stopping too early: If the filling never reaches a proper simmer, the thickener may not activate enough.
Leaving the filling unattended: Custard can stick or scorch quickly.
Pouring into an unbaked crust: The pastry may remain undercooked or become soggy.
Cutting too soon: Warm chocolate filling will not hold a clean slice.
Using too much sugar: Chocolate pie should taste rich and chocolatey, not simply sweet.
Skipping salt: A small amount of salt sharpens the chocolate flavor and keeps the dessert from tasting flat.
Overbaking meringue: This can make the topping rubbery or overly dry.
The good news is that most of these problems are easy to prevent once you know what to watch for.
How to Make Chocolate Pie Ahead of Time
Chocolate pie is actually a wonderful make-ahead dessert because it needs time to chill.
You can bake the crust a day ahead and store it in an airtight container once completely cool.
The finished pie can also be prepared the day before serving. In fact, overnight refrigeration often improves the texture because the filling has more time to set.
If using meringue, the topping is best when served relatively fresh. A whipped cream topping can be easier if you need to prepare the dessert well in advance.
For a holiday meal, make the crust and filling the day before. Refrigerate the completed pie and add a fresh garnish shortly before serving.
This removes one dessert from your cooking list on the day guests arrive.
How to Store and Serve Chocolate Pie
Keep chocolate pie refrigerated because the filling contains milk and eggs.
Cover it loosely or place it in a suitable pie container to protect it from refrigerator odors.
For the best texture, serve it cold or slightly cool rather than at room temperature for an extended period.
A clean slice starts with the right knife. Use a sharp knife and wipe the blade between cuts if you are serving several people.
Simple toppings work beautifully:
- Lightly sweetened whipped cream
- Chocolate curls
- A dusting of cocoa
- Fresh berries
- Toasted pecans
- A small scoop of vanilla ice cream
You do not need all of them. One topping is usually enough.
For a classic look, a generous spoonful of whipped cream on each slice gives the dessert a polished finish without taking attention away from the chocolate filling.
Easy Variations on the Traditional Chocolate Pie
Once you have mastered the basic custard, there are several ways to change the dessert without losing its character.
For a richer chocolate pie, add a small amount of semisweet chocolate to the hot filling.
For a nutty Southern-style variation, sprinkle finely chopped toasted pecans over the crust before adding the filling.
For a mocha version, dissolve a teaspoon or two of instant espresso powder into the warm filling. Coffee does not necessarily make the pie taste like coffee; it can simply deepen the chocolate flavor.
For a peanut butter variation, serve each slice with a small spoonful of peanut butter whipped cream.
You can also replace the pastry crust with a chocolate cookie crust. That creates a more modern dessert while keeping the same creamy center.
If you want a lighter finish, skip the meringue and use softly whipped cream just before serving.
The key is to change one major element at a time. That way, you can still taste what makes the original pie special.
Old Fashioned Chocolate Pie Recipe Card
Here is the complete recipe in an easy format for saving.
Prep time: 20 minutes Cook time: 10–15 minutes for the filling Chilling time: At least 4 hours Servings: 8 slices
Ingredients
- 1 baked 9-inch pie crust
- 1 1/2 cups granulated sugar
- 1/3 cup unsweetened cocoa powder
- 1/4 cup all-purpose flour
- 1/4 teaspoon salt
- 3 cups whole milk
- 4 large egg yolks
- 3 tablespoons unsalted butter
- 2 teaspoons vanilla extract
Directions
- Prepare and fully bake a 9-inch pie crust. Let it cool.
- Whisk sugar, cocoa powder, flour, and salt together in a saucepan.
- Whisk egg yolks and milk together in a separate bowl.
- Slowly add the milk mixture to the dry ingredients, whisking constantly.
- Place the saucepan over medium heat.
- Stir constantly until the mixture thickens and reaches a gentle boil.
- Continue cooking for about one minute while stirring.
- Remove from the heat.
- Stir in butter and vanilla until smooth.
- Strain the filling if you notice any lumps.
- Pour the hot filling into the baked crust.
- Cool, then refrigerate for at least four hours.
- Top with whipped cream or meringue before serving.
For a simple meringue
Beat the four reserved egg whites until foamy. Gradually beat in about 1/2 cup sugar until glossy stiff peaks form.
Spread the meringue over the warm filling, taking it all the way to the crust. Bake until the surface is lightly golden, then cool and refrigerate.
The result should be creamy, deeply chocolatey, and firm enough to slice without becoming stiff.
Expert Tips for the Best Homemade Chocolate Pie
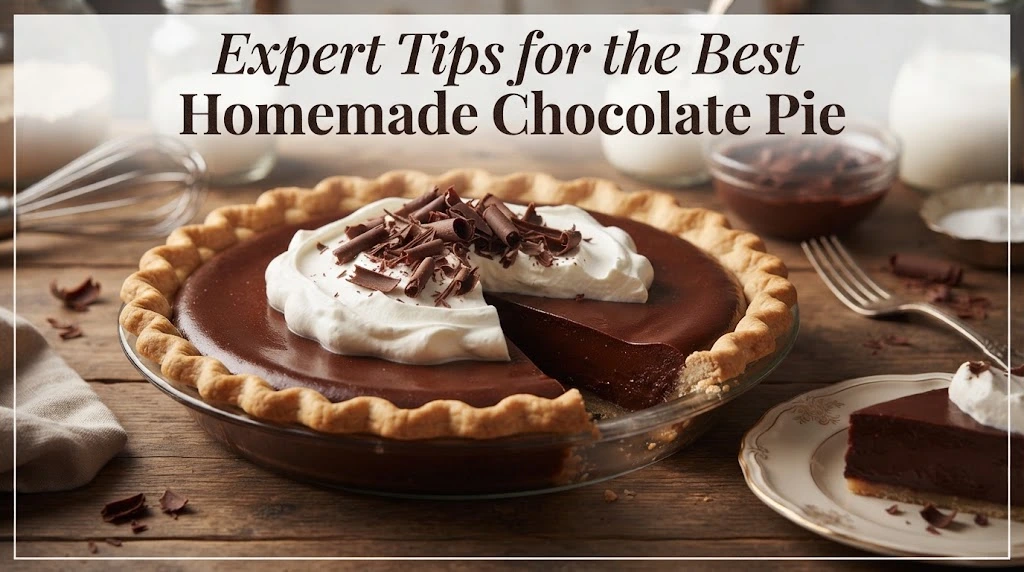
The difference between an ordinary chocolate pie and a memorable one often comes down to small details.
First, taste the filling before it goes into the crust. Since the mixture contains raw egg yolks at the beginning, do not taste it until it has been properly cooked. Once finished, check the balance of chocolate, sweetness, and salt.
Second, do not rush the cooling process. A custard pie needs time to develop its final texture.
Third, use a good cocoa powder. You do not necessarily need the most expensive brand, but choose one with a rich chocolate aroma and no stale smell.
Fourth, keep the crust crisp. A fully baked crust and properly thickened filling make a major difference.
Finally, remember that simple desserts expose technique. With a chocolate pie, there are not dozens of ingredients to hide mistakes. That is actually an advantage because once you master the method, the results become remarkably consistent.
For gatherings, I like to make the pie the night before and garnish it shortly before serving. It keeps the kitchen calmer and gives the dessert plenty of time to set.
The finished pie should look inviting rather than overdecorated: smooth chocolate filling, a crisp pastry edge, and just enough whipped cream or meringue to finish it.
Frequently Asked Questions About Old Fashioned Chocolate Pie
1. What is an old-fashioned chocolate pie made of?
A traditional chocolate pie usually contains a baked pastry crust and a cooked custard made with milk, sugar, cocoa powder or chocolate, eggs, and a thickener such as flour or cornstarch. Butter and vanilla add richness and flavor.
2. Why is my chocolate pie not setting?
The filling may not have cooked long enough to activate the thickener, or the ingredient proportions may have been off. Make sure the custard reaches a gentle boil and cooks for about one minute while you stir constantly. Also give the finished pie several hours to chill.
3. Can I use cornstarch instead of flour?
Yes. Cornstarch creates a smooth, glossy custard and is commonly used in cream pies. Because it thickens differently from flour, you should use a recipe specifically formulated with cornstarch rather than swapping equal amounts without adjusting the method.
4. Can I make chocolate pie without meringue?
Absolutely. Whipped cream is an excellent alternative and requires less preparation. You can also serve the pie plain or add a small scoop of vanilla ice cream.
5. How long does homemade chocolate pie last in the refrigerator?
Because this pie contains milk and eggs, keep it refrigerated and use it within several days for the best quality. Store it covered to protect the filling from absorbing refrigerator odors.
6. Can I freeze homemade chocolate pie?
Freezing custard pies can change the texture, sometimes causing the filling to become watery or grainy after thawing. For the best result, make the pie fresh and refrigerate it rather than freezing it, especially if you plan to serve it to guests.
7. How do I get clean slices of chocolate pie?
Chill the pie thoroughly before cutting it. Use a sharp knife, wipe the blade clean between slices, and avoid cutting while the filling is still warm.
Conclusion
A truly good old-fashioned chocolate pie does not need a complicated ingredient list. It needs a well-cooked custard, a crisp crust, balanced sweetness, and enough time to chill.
That is what makes this dessert worth keeping in your recipe collection. It is inexpensive enough for an ordinary family dinner, special enough for a holiday table, and familiar enough to remind you of the kind of desserts that used to disappear from the kitchen counter before anyone had a chance to put them away.
Make the crust crisp. Cook the filling slowly. Do not rush the chill. Then add the topping you love most.
When you cut into that first slice and the chocolate filling holds its shape while staying soft and creamy, you will understand why this simple pie has remained a favorite for generations.