
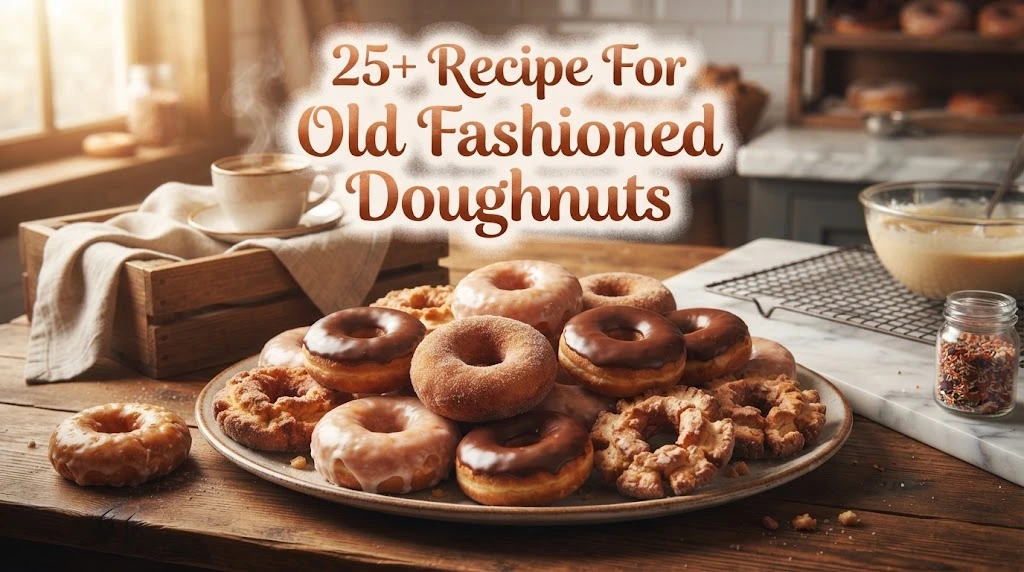
There’s something about the smell of doughnuts frying that pulls you straight back to childhood. Maybe it was your grandmother’s kitchen on a Sunday morning, flour dusted across her apron, or a small-town bakery you’d visit before school with your dad. That cracked, craggy top. The dense, cakey crumb that snaps instead of squishes. The way the glaze pools into every little crevice. That’s an old fashioned doughnut, and once you’ve had a real one, the fluffy yeast-raised kind from the grocery store just doesn’t hit the same.
I’ve made this recipe more times than I can count, and I’ve burned through plenty of failed batches to figure out what actually works. Old fashioned doughnuts aren’t hard to make, but they are picky about a few small details — the dough temperature, the frying heat, the resting time. Get those right, and you’ll have bakery-quality doughnuts sitting on your counter in under an hour. This guide walks you through everything, from the classic recipe to troubleshooting the cracks, glazing tricks, and even how to bake or air-fry them if you’d rather skip the oil altogether.
What Makes a Doughnut “Old Fashioned”?
An old fashioned doughnut is a cake doughnut, not a yeast doughnut. That’s the first thing to understand, because a lot of people confuse the two.
Yeast doughnuts (like Krispy Kreme’s classic glazed) rise using yeast and turn out light, airy, and pillowy. Old fashioned doughnuts use baking powder and baking soda instead, which gives them a denser, more crumbly texture — almost like a rich, fried cake. They’re also known for their signature cracked surface, which happens naturally when the dough hits hot oil and expands faster on the outside than the inside.
You’ll usually find old fashioned doughnuts with a simple vanilla or chocolate glaze, though plenty of bakeries add a sour cream version for extra tang. That tang is actually a hallmark of the “true” old fashioned style, and it’s one ingredient home bakers often skip by mistake.
Classic Old Fashioned Doughnut Recipe (Step-by-Step)
This is the base recipe I come back to every single time. It makes about 10-12 doughnuts plus holes, depending on your cutter size.
Ingredients:
- 2 cups all-purpose flour
- 1 cup granulated sugar
- 2 teaspoons baking powder
- ½ teaspoon baking soda
- ½ teaspoon salt
- ¼ teaspoon ground nutmeg
- 2 large egg yolks
- ⅓ cup sour cream
- 2 tablespoons unsalted butter, melted
- 1 teaspoon vanilla extract
- Vegetable oil, for frying
Instructions:
- Whisk the flour, sugar, baking powder, baking soda, salt, and nutmeg together in a large bowl.
- In a separate bowl, beat the egg yolks, sour cream, melted butter, and vanilla until smooth.
- Fold the wet mixture into the dry ingredients until a soft dough forms. Don’t overmix — a few streaks of flour are fine.
- Turn the dough onto a floured surface and gently pat it to about ½-inch thickness.
- Cut doughnuts using a doughnut cutter, or two round cutters of different sizes.
- Chill the cut doughnuts on a tray for 15-20 minutes. This step matters more than people think.
- Heat oil to 325°F (163°C) in a heavy pot or deep fryer.
- Fry each doughnut for 90 seconds per side, until deep golden brown.
- Drain on a wire rack over paper towels, then dip in glaze while still warm.
That chilling step in number 6 is the one most recipes skip, and it’s the reason so many home doughnuts fall apart in the oil. Cold dough holds its shape and cracks more beautifully than dough at room temperature.
Why Sour Cream Is the Secret Ingredient
If you’ve ever wondered why bakery doughnuts taste richer than homemade ones, sour cream is usually the answer. It adds moisture without thinning the dough, and its acidity reacts with the baking soda to create extra lift and a slightly tangy flavor.
Buttermilk works as a substitute if you’re out of sour cream, though the texture turns out a touch less dense. Greek yogurt is another decent swap in a pinch, but stick with full-fat for the best results — low-fat versions add too much water to the dough.
Getting That Signature Cracked Top
The cracked, marbled top is what separates a real old fashioned doughnut from a plain fried cake. It’s not decoration — it’s chemistry.
Here’s what causes it: when the chilled dough hits hot oil, the outside sets almost instantly while the inside is still expanding from the leavening agents. That pressure difference forces the surface to split open in those signature jagged lines.
Expert tip: if your doughnuts aren’t cracking, your oil probably isn’t hot enough, or your dough wasn’t chilled long enough before frying. Both are equally common mistakes.
The Right Frying Temperature (And Why It Matters So Much)
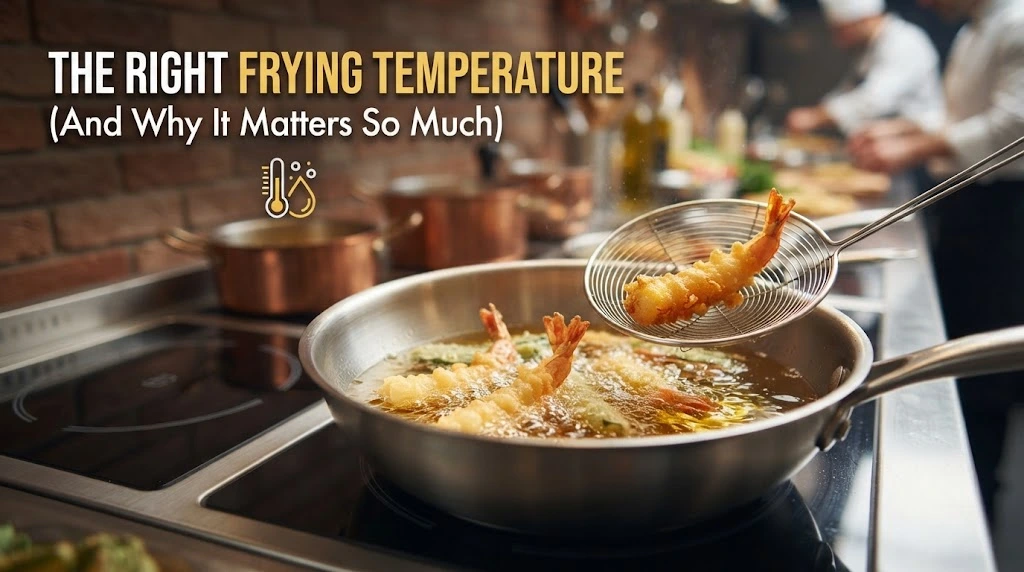
Temperature control makes or breaks this recipe. Too hot, and the outside burns before the inside cooks. Too cool, and the doughnuts soak up oil and turn greasy instead of crisp.
Aim for 325°F (163°C), and use a candy or deep-fry thermometer instead of guessing. If you don’t have one, drop a small piece of dough into the oil — it should sizzle immediately and rise to the surface within a few seconds.
- Keep a close eye on the temperature between batches, since it drops each time you add cold dough.
- Fry in small batches of 2-3 doughnuts so the oil temperature stays steady.
- Never walk away from the pot. Doughnuts go from golden to burnt in under a minute.
Best Oil for Frying Doughnuts
Not all oils are created equal for this job. You want something with a neutral flavor and a high smoke point, so it doesn’t overpower the vanilla and nutmeg in the dough.
Good choices:
- Vegetable oil (most common and budget-friendly)
- Canola oil
- Peanut oil (adds a subtle richness, great for large batches)
- Refined coconut oil (works well but can leave a faint coconut note)
Avoid olive oil and butter for deep frying — their smoke points are too low, and you’ll end up with a burnt, bitter flavor in your finished doughnuts.
Old Fashioned Doughnut Glaze Recipe
A classic vanilla glaze is non-negotiable for old fashioned doughnuts. It should be thin enough to soak slightly into the cracks but thick enough to set into a light shell.
Simple Vanilla Glaze:
- 2 cups powdered sugar
- 3-4 tablespoons whole milk
- 1 teaspoon vanilla extract
- Pinch of salt
Whisk everything together until smooth, adjusting the milk one tablespoon at a time until you get a consistency similar to heavy cream. Dip warm doughnuts directly into the glaze, let the excess drip off, then set them on a wire rack for 10 minutes so the glaze can set properly.
Chocolate variation: swap 3 tablespoons of powdered sugar for unsweetened cocoa powder, and you’ve got a rich chocolate glaze that pairs beautifully with the cake doughnut’s density.
Common Mistakes That Ruin Old Fashioned Doughnuts
I’ve made every one of these mistakes myself, so consider this your shortcut past them.
- Skipping the chill time: warm dough spreads in the oil instead of holding its shape.
- Overworking the dough: this activates the gluten too much, making doughnuts tough instead of tender.
- Frying at the wrong temperature: always check with a thermometer rather than trusting instinct.
- Glazing while too hot: the glaze slides right off instead of setting.
- Reusing oil too many times: old oil turns doughnuts dark and gives them an off flavor.
Can You Bake Old Fashioned Doughnuts Instead of Frying?
Yes, though the texture changes noticeably. Baked versions turn out lighter and closer to a muffin than a true fried doughnut, but they’re a solid option if you want less mess or a lighter treat.
To bake: press the same dough into a greased doughnut pan, and bake at 375°F (190°C) for about 10-12 minutes, until a toothpick comes out clean. You won’t get the classic crack, but the flavor stays close to the original.
Air Fryer Old Fashioned Doughnuts
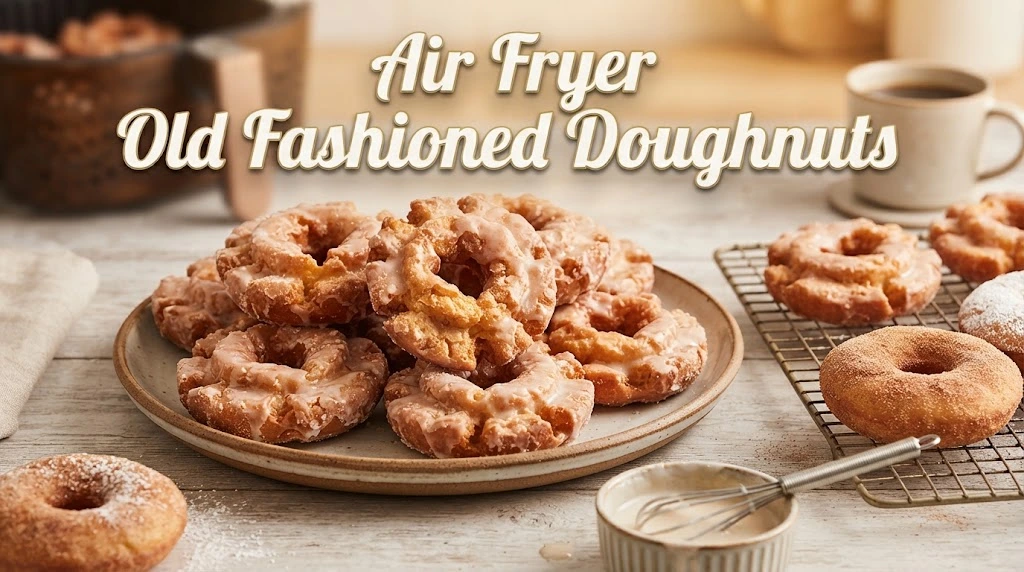
Air frying sits somewhere between baking and deep frying — you’ll get a slightly crisper exterior than the oven method, with far less oil than traditional frying.
Lightly spray the cut doughnuts with oil, then air fry at 350°F (175°C) for 5-6 minutes, flipping halfway through. Keep in mind the dense, cakey structure of old fashioned doughnuts doesn’t cook quite as evenly in an air fryer as yeast doughnuts do, so check for doneness a minute or two early the first time you try it.
How to Store Old Fashioned Doughnuts (And Keep Them Fresh)
These doughnuts are best eaten the same day, but they’ll still taste great for a couple of days if stored properly.
- Store unglazed doughnuts in an airtight container at room temperature for up to 2 days.
- Glazed doughnuts should sit uncovered until the glaze fully hardens, then be stored in a single layer to avoid sticking.
- Avoid the refrigerator — it dries out cake doughnuts faster than leaving them at room temperature.
Can You Freeze Old Fashioned Doughnuts?
Absolutely, and freezing actually preserves the texture better than refrigeration does. Freeze unglazed doughnuts in a single layer first, then transfer to a freezer bag once solid, so they don’t stick together.
They’ll keep well for up to two months. Thaw at room temperature for about an hour, then glaze fresh — this brings back nearly all of that just-made flavor and texture.
Old Fashioned Doughnuts vs. Cake Doughnuts vs. Yeast Doughnuts
People use these terms loosely, so here’s the real breakdown.
- Old fashioned doughnuts: a specific style of cake doughnut with a cracked top, dense crumb, and often a sour cream base.
- Cake doughnuts: the broader category — leavened with baking powder/soda instead of yeast. All old fashioned doughnuts are cake doughnuts, but not all cake doughnuts have the cracked “old fashioned” look.
- Yeast doughnuts: light, airy, and risen with yeast, giving that pillowy texture you get from a classic glazed doughnut.
Knowing the difference helps you pick the right recipe for the texture you actually want.
Flavor Variations on the Classic Recipe
Once you’ve nailed the base recipe, it’s easy to build on it.
- Cinnamon sugar: skip the glaze and toss warm doughnuts in a mix of cinnamon and sugar instead.
- Maple glaze: replace vanilla extract with maple extract, and use maple syrup instead of milk in the glaze.
- Apple cider doughnuts: reduce apple cider on the stove until thickened, then mix it into the dough for a fall-flavored twist.
- Pumpkin spice: add ¼ cup pumpkin puree and a teaspoon of pumpkin pie spice to the base dough.
Each variation keeps the classic cracked texture while giving you a completely different flavor profile for the season or occasion.
Expert Tips From Years of Trial and Error

A few small lessons that made the biggest difference in my own kitchen:
- Always use cold butter or chilled dough — warmth is the enemy of that crackled top.
- Rest the doughnuts on the tray uncovered for a few minutes before frying so the surface dries slightly, which helps with cracking.
- Fry the “holes” separately — they cook faster and burn easily if left in with full-size doughnuts.
- Double-dip the glaze for a thicker, bakery-style shell once the first coat has set.
Small adjustments like these are usually what separates a good homemade doughnut from a truly great one.
Conclusion
Making old fashioned doughnuts at home isn’t complicated once you understand what’s actually happening in that hot oil. Chill your dough, keep your temperature steady, and don’t rush the process, and you’ll end up with doughnuts that crack, glaze, and taste exactly like the ones from your favorite local bakery. Whether you stick with the classic vanilla glaze or branch out into maple, cinnamon sugar, or apple cider, the base recipe here gives you a reliable foundation to build on. Once you make a batch from scratch, it’s genuinely hard to go back to store-bought.
Frequently Asked Questions
What makes old fashioned doughnuts different from regular doughnuts?
Old fashioned doughnuts are cake doughnuts leavened with baking powder and soda, giving them a dense texture and a signature cracked top, unlike the light, airy texture of yeast-raised doughnuts.
Why aren’t my doughnuts cracking on top?
Your oil is likely not hot enough, or your dough wasn’t chilled long enough before frying. Both issues prevent the outside from setting fast enough to crack.
Can I make old fashioned doughnuts without a doughnut cutter?
Yes. Use a large round cutter or glass for the outer edge and a smaller one, like a bottle cap, for the center hole.
What’s the best oil temperature for frying doughnuts?
325°F (163°C) is ideal. Lower temperatures make the doughnuts greasy, while higher temperatures burn the outside before the inside cooks through.
Can I make the dough ahead of time?
Yes, you can refrigerate the mixed dough for up to 24 hours before cutting and frying, which actually helps develop flavor and makes the dough easier to handle.
Why do my doughnuts taste greasy?
This usually means your oil temperature was too low, causing the dough to absorb oil instead of frying quickly on the surface.
Can I use a doughnut pan instead of frying?
Yes, though baked doughnuts come out lighter and less dense, closer to a muffin texture, without the classic cracked top you get from frying.